Saturday, September 22, 2012

Ballerina Bag


My daughter has been in love with ballet for quite awhile now, and it seems like we spend more and more time at ballet practices and programs. We used to just throw her stuff in whatever bag that was laying around the house, and I would always see all of the cute ballet bags at the studio and contemplate spending way too much money to get her one. Until today. I finally decided that I would attempt to make her a bag myself. I remembered that I had kept her backpack from preschool and thought it would be a perfect size. It is just a little bit smaller than regular size backpacks, so it is perfect. This is what it looked like to begin with:
 
I decided that a ballet bag definitely had to have ribbons and fuzziness, so I dolled it up a little bit more. I started out by taking a cute piece of fabric and sewing it to the front pocket.
 
I also found some super fuzzy yarn and crocheted it into a single chain and placed it all around the edges of the fabric. This not only made it cute, but it also made it unnecessary for the fabric to be absolutely perfect on the seams of the bag.
 
I definitely wanted to put a cute little ballerina on the bag, but I had one problem. I recently ran across a way to be able to run fabric through your printer to print directly on it, and I thought this was a brilliant idea. The directions said that you need freezer paper and a spray adhesive agent. The only problem was I didn't have either of those things, so I decided to improvise. I used a 4x6 piece of photo paper and sprayed it with hairspray before laying my piece of fabric on it. I then cut the fabric so that it was perfectly the same size as the photo paper. And then I said a prayer....It worked!
 
 
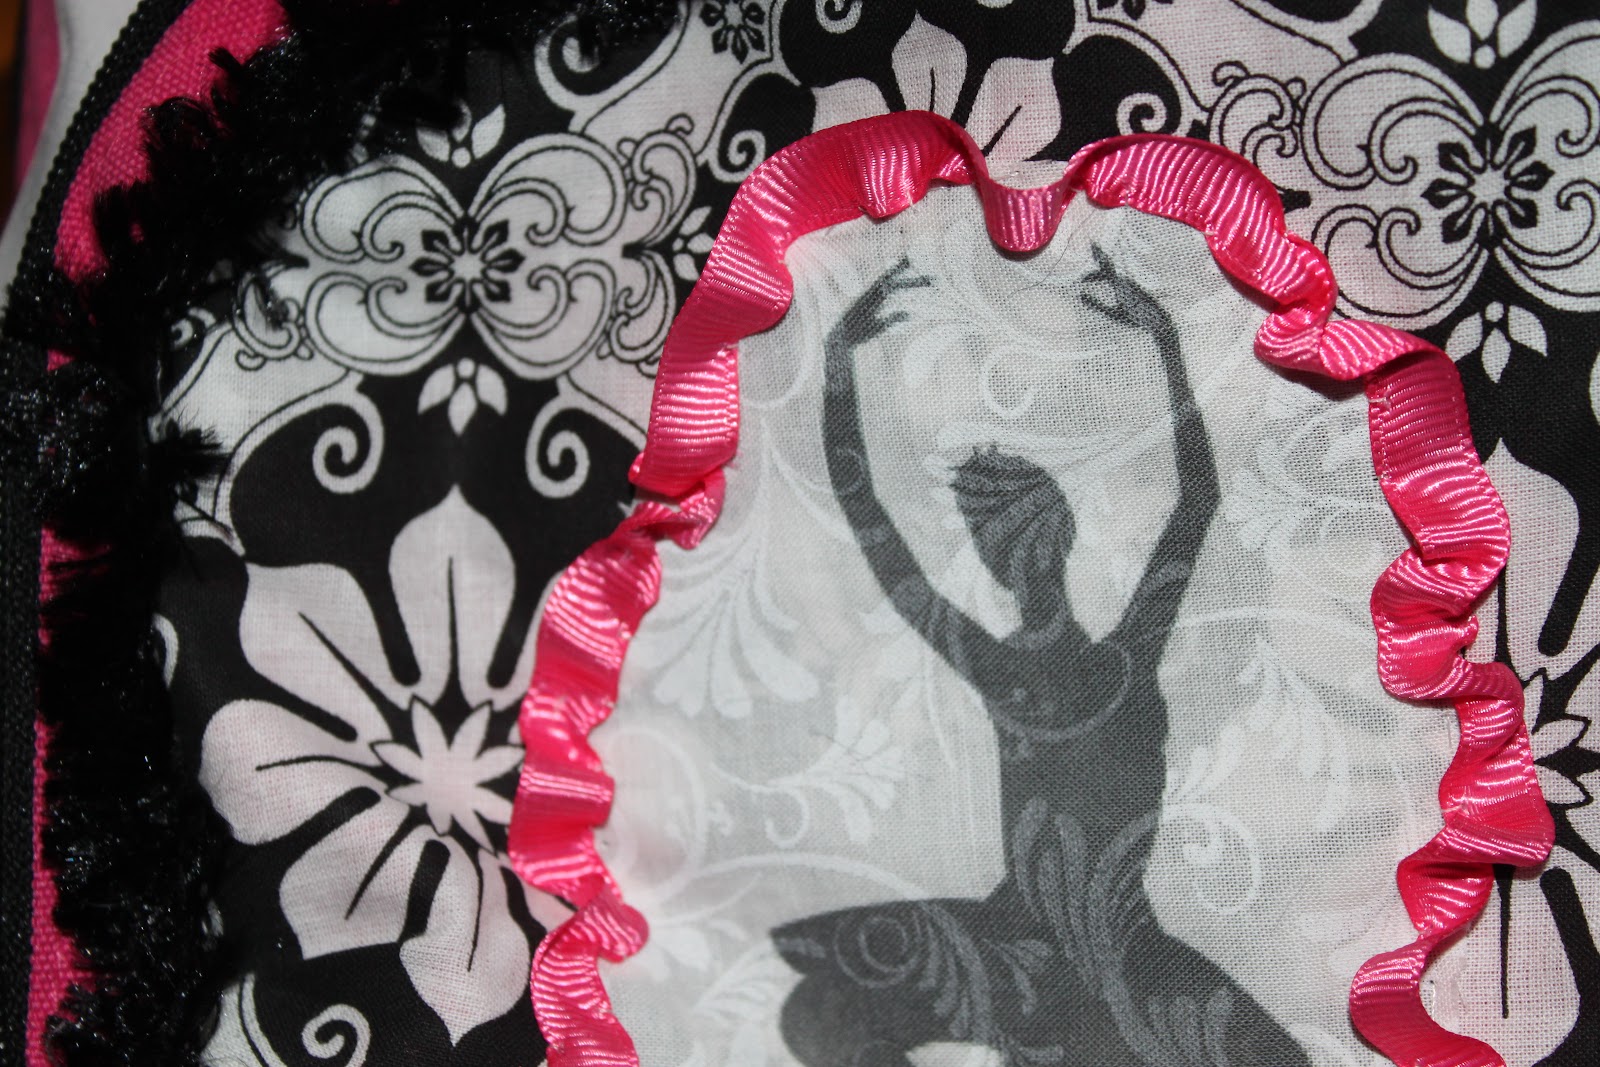
Add a little pink ribbon as an outline and tada, cute little ballerina  :)
 
Of course I had to add a bow for my princess. I changed her embroidered name from purple to black with a black sharpie, and it worked out so well.
 
 
Claire's new bag. I hope she likes it! A cute bag for a cute little ballerina.


Sunday, September 16, 2012

Calendar

With three kids life keeps getting crazier and crazier, and I definitely needed a good calendar to have out for everyone to stay on schedule. The only problem is that most calendars I have found at the store aren't the cutest looking things, so I decided to just make my own. Here's the finished product:


I started out by buying a regular white magnetic dry erase board from the store.
 
I also found some cute packages of scrapbook paper in the craft section and some precut circular magnets. (I had bought magnetic sheets as well but they didn't work out very well.)
 

I had an old mirror that I wasn't using, and I really like the frame on it so I decided to use the frame for this project.


I used the clear piece of a 20" x 30" poster board frame for the front of my calendar. I measured out and drew a calendar grid with permanent marker on the plastic piece.
 
 
I then took the scrapbooking paper and mod podged it to the dry erase board.


Because the plastic piece was bigger than the board and the frame was bigger than the plastic piece, I created a mat frame around the calendar by covering cardboard with white paper.
 
 
I made the numbers by covering the circular magnets with the scrapbooking paper and then printing off some numbers to glue onto them. This will make it easier so that you don't have to write new numbers at the beginning of every month. I also made a special section on the board to write the month. The design possibilities are really endless here.


This was definitely a fun project. I would recommend buying some dry erase markers othen than the ones that come with the board because they aren't always the greatest quality.
Hope you like it :)


Monday, September 3, 2012

Hairbows

Right now I'm working on a project that has taken longer than originally intended. I have been meaning to put the pics up on here, but since it's not done I decided to share some of my bows that I made last fall. I know a lot of people are making bows now but I decided to make these because they were cute and different. Some of these bows were very time consuming while others didn't take long to make at all. Let me know what you think :)

Pumpkin Bow
Little Miss Spider
Pink Turkey